Inspired by Sortedfood's recent video on making decent bread, we decided why not add Matcha to this everyday staple. One of us is also completely in love with Ben.. I mean who isn't?
Bread is such a versatile thing and making it can be so simple - if you have the time. Try our simple recipe which is certain to give you beautiful Matcha bread.


What you will need to make one small loaf (around 12 small slices):
Prep, waiting & baking time: 3 hours
Ingredients
- 500g flour of choice (we used plain white to make the Matcha more vibrant)
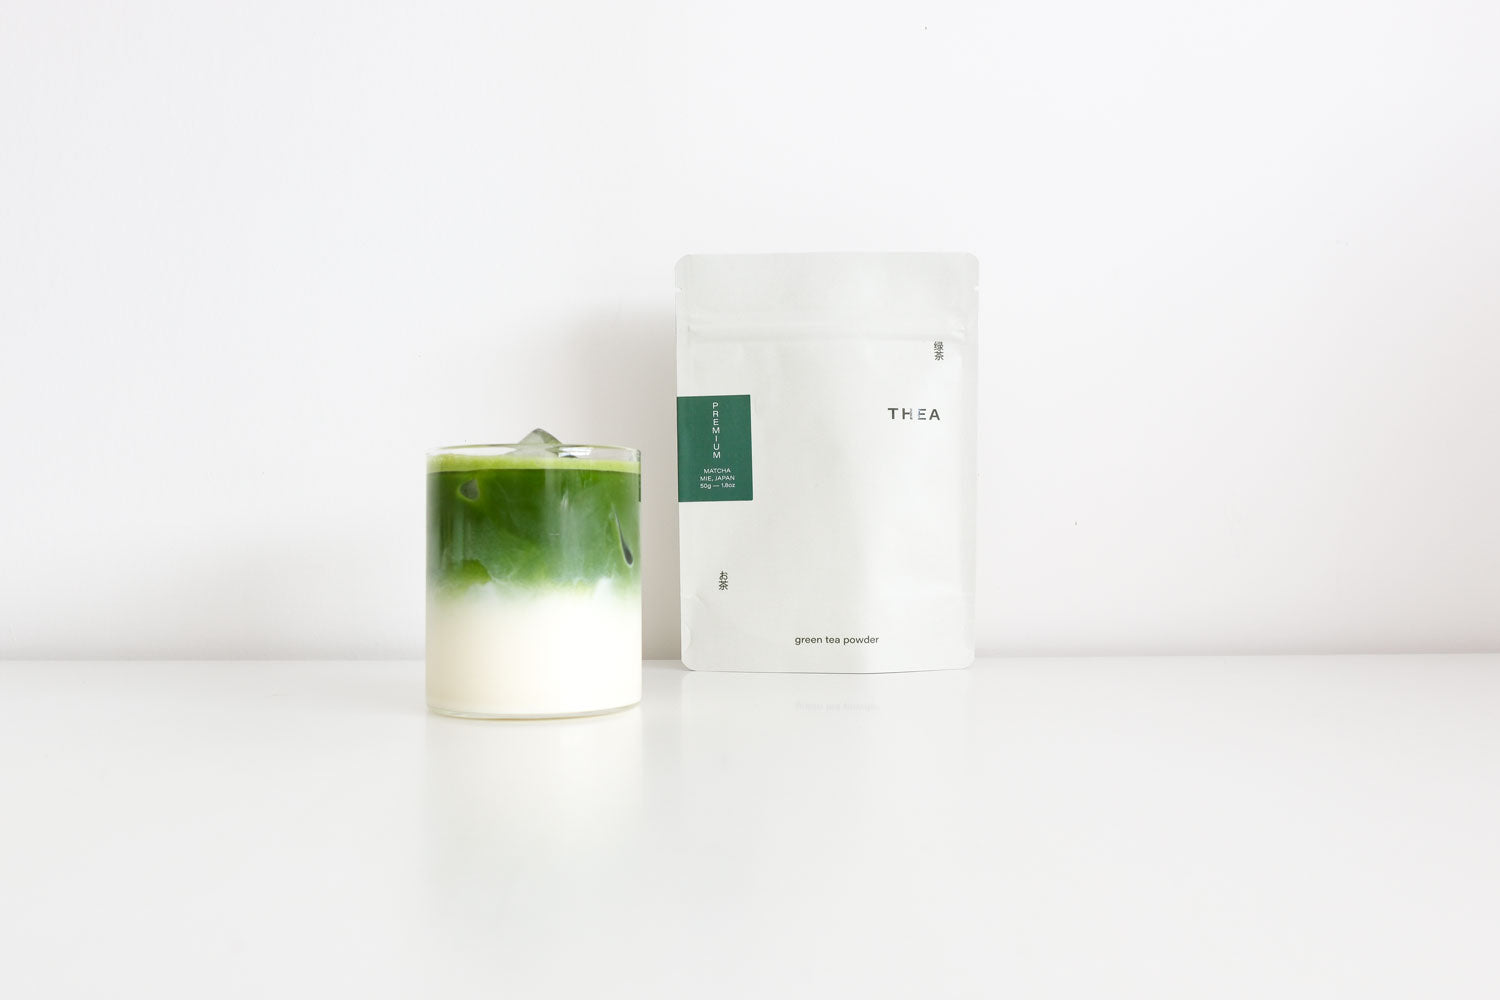
- 1 Tbsp Thea Matcha
- 3 tsp of dry active yeast
- 1 Tbsp of sugar or maple syrup
- 1 tsp rock salt ( we used Himalayan Pink Salt)
- 150-200ml tepid/warm water
- Extra flour on hand when kneading
- Enough water to fill an ovenproof pan to steam while the dough is in the oven
- Olive oil for greasing the bowls and dough
Gadgets
- Measuring Utensils
- One large bowl
- Loaf tin
- Knife/Spatula
- Board to knead on or Mixer w/ dough hook
- Ovenproof shallow pan
- Oven (obviously)
- Tea Towel
Step 1: Pour the flour and Matcha together and mix to combine. Arrange the sugar (caster), salt and yeast separately. (Make sure the salt and yeast don't touch as this will deactivate the yeast)

Step 2: Mix these together to combine, then add in most of the water and mix to get the dough to just come together. I poured about 150 mls in first, mixing it with the knife and then adding as needed.


Step 4: Knead the bread! On a lightly floured surface, (make sure your hands are clean!) place your dough down. Using the heel of your palms push out the bread and bringing it back into a ball and pushing out again. Do this for around 15 - 20 minutes (I did it for 15 but probably should have done it for longer). If you're using a mixer 5-10 minutes should be enough.

Once you have a soft pillowy dough, mould into a ball and place back into your lightly greased bowl (we used light olive oil). Lightly oil the top of your dough. Cover with a tea towel and leave to prove in a warm place for at least an hour/ doubled in size.
{ sorry I forgot to take a picture at this point :( }
Step 5: Once it's doubled in size, pat it down and mould into a rectangular/loaf like shape by pulling it down the sides. Put into your loaf tin and leave for a second prove - we left ours for an hour. Lightly oil the top of the dough again.

Step 6: Get your oven ready at 220C on bake, leaving an empty oven proof pan at the bottom.
Step 7: Once it's ready, pop in your loaf and pour some water into the pan to create steam (this creates a delicious crust!). Leave at 220C for 15mins then lower the heat down to 180C for another 20-25 minutes.
And you're done! Leave the loaf to cool before cutting it up and enjoy ! There's no overpowering Matcha taste when using Thea's premium grade so don't worry about it being a bitter bread!
Love it toasted with dairy free margarine

or a Vegan Cheese & Spring Onion Matcha toastie (YAAAAAAAAAAS)


Thea Tips:
Feel free to add another tsp of sugar (or more!) to your mix if you want a slighter sweeter bread - this is what we did and it was just right for our cravings that day.
Use bread flour for a lighter loaf! We kept it simple with what we had in our cupboards but this was still a pretty tasty dough although obviously a bit denser :)
We were lucky enough that outside was warm so we left our dough covered outside. Or you can heat your microwave for a few minutes and then leave your dough in there. Checking that the temperature is nice and warm still. Could even leave it near a heater (make sure there's no air to keep it from drying out).